Keeping You and Your Patients Safe - ORBEYE & PPE During the COVID-19 Era
Face and Eye Protection
This option will highlight the steps of application of ORBEYE 3D Shields to goggles, as used at the Michigan Ear Institute.
Preparation
Please note that for this option the provided frame for the ORBEYE 3D Shields is not needed.
Only the ORBEYE 3D Shield will be used.
Additionally needed are:
- Marker
- Scissor
- Tape
Step 1
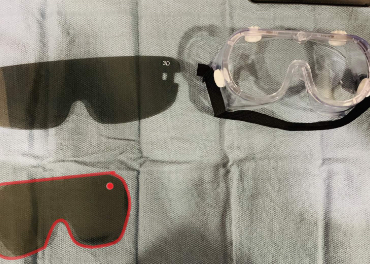
- Please place the ORBEYE 3D Shield flat on the table or surface and place the goggles with the outside, flat portion onto the 3D Shield.
- Please mark the rim of the goggles with a marker onto the ORBEYE 3D Shield.
- Place a mark (in this example a dot) inside the marked form, to indicate where the 3D sign on the original ORBEYE 3D Shield was.
This will ensure later a correct application of the shield onto the googles.

Step 2
- Place the cut ORBEYE 3D Shield, with the marked spot visible and facing outwards onto the protective goggles.
- Please confirm that the ORBEYE 3D Shield, with marked spot, is applied in the same direction as one would wear ORBEYE 3D Shields under normal circumstances.
- Secure the ORBEYE 3D Shield with a tape onto the protective goggles.
- This can be done along the long line above the eyes, or along the round sides.
- Please ensure that there is no distance between the ORBEYE 3D Shield and the protective goggles, as this might cause distortion.
- Please confirm that the ORBEYE 3D Shields are securely attached to the protective goggles.
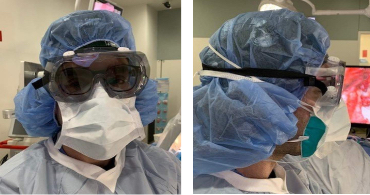
Step 3
Please see here an example, provided by the Michigan Ear Institute.
Draping of the ORBEYE
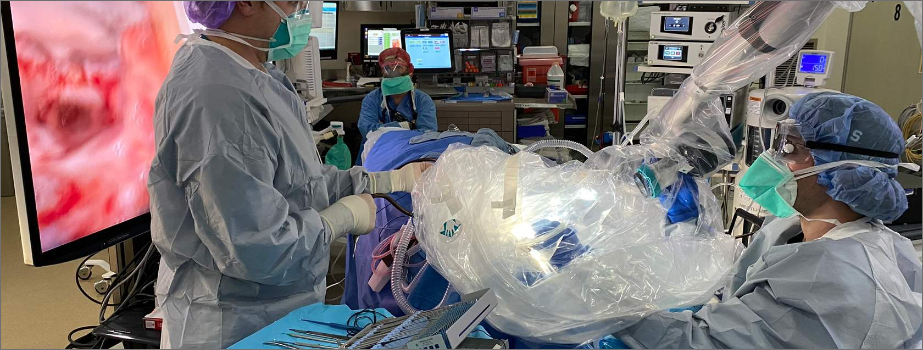
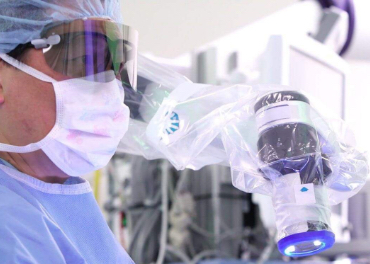
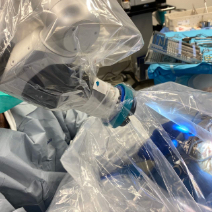
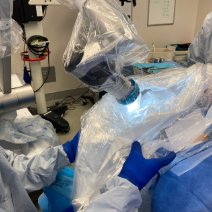
A plastic, transparent sterile drape was applied circumstantially around the normally sterile draped ORBEYE and securely fastened, with a sterile rubber band, just above the ORBEYE exoscope scope head lens and below the sterile draped ORBEYE exoscope scope head grip with buttons. It was enclosed around the sterile field to create a small tent.
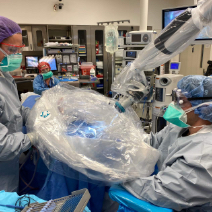
The surgeon’s hands were placed as usual, in the field beneath the tent, with the drapes acting as a physical barrier to spray, aerosolized particles, and bone dust from the drilling. Instrument exchanges were easily performed under and around the tented drape. The surgeon has easy access to the ORBEYE exoscope scope head above the drape- tent, for repositioning and adjustment of features such as zoom, focus and customized button functionalities. The additional length of the tent ensured the mobility of the ORBEYE scope head and arm.
Please see below pictures and videos, to illustrate the draping technique of the ORBEYE exoscope at the Michigan Ear Institute for otology cases. These videos and pictures have been used in a submitted publication, Exoscope-assisted Otologic Surgery During the COVID-19 Pandemic - PubMed.
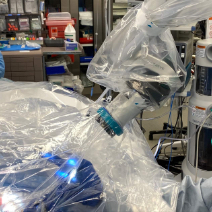
Placing the draping
Close up of ORBEYE exoscope sterile draping
Instrument handling under the drape tent
Placing the draping


